Friday 24 May 2013

CAD Trousers

In CAD I was asked to create a spec drawing of my trouser design using Adobe illustrator.

I had to draw one half of my trousers as I was then able to reflect the shape over to create a full shape.

I used the pen tool to draw the basic outline, I had to use a beaser curve to create the folds within my fabric. I found this to be one of my most difficult CAD designs as I found it difficult to draw the legs, however the other basic shapes were quite straight forward and were easy to reflect.
I am happy with my final outcome because even though it was a difficult design to create I think that it still looks effective and has all of the detail.
After creating this design it helped my feel a little more confident on illustrator as I used different skills and techniques with a good outcome.

CAD- Zipper

Here is the zipper that I created during one of my CAD sessions as a detail for a garment. I created this using illustrator. This was quite a basic task as it was just transferring the skills that I had used previously when creating my spec designs. I was able to create half of the shape and then reflect it over and then join them together. I think that this task turned out to be a lot simpler than I thought that it would be and I was quite surprised as the outcome was effective. I think that this will be a useful skill for me to add extra detail onto garments in any of my future work.


CAD

I have been tracing around an image to create a fashion figure. I did this by uploading an image onto my desktop and then opening up Adobe illustrator. I then had to import the visual from the desktop into illustrator. I then had to draw around the parts of the image that I wanted to cut. I decided to draw around the head and shoulders and I also kept some slight detailing on the face with the eye and the hair style. I drew all the way around the outside. Once I got back to my starting point a little white circle appeared, this was to tell me that I had a closed shape.
Once I had traced off all of the head and shoulders I then selected all of the lines with my black arrow and then gave it a stroke weight of 2pt and a transparency of 50%.


Fashion show poster

We were asked to use our CAD skills to help design and produce a poster for this years fashion show.

This was my first attempt at a fashion show poster,  I drew a sketch of a garment on a fashion figure. I then scanned it into the computer and uploaded it onto photoshop. I then added the information for the fashion show and created a basic title. I didn't like this design therefor I decided to create a new poster. 

This was my new final poster. I created this using photoshop. I started off by uploading an image that I had previously drawn around. I then added a background of a spotlight. I was then able to add in the information for the fashion show and a title. I think that this poster was a better improvement to my last one.

CAD- Ralph pink tutorial

Recently in our CAD lesson we have been introduced to Ralph Pinks tutorials. We started off by using his measure generator to work out our measurements in order to create a bodice block to fit ourselves. We had to measure each other and inout our sizes into an excel database, this then automatically calculated our measurements and then gave us an output of what size bodice block we would be creating. I found the creating of the data base quite simple as it was just inputting basic data. After creating my spreadsheet it had worked out for me that i would then be creating a size 10 bodice block.

Creating the bodice block

Once I had all of my measurements I was then able to move on and begin creating my bodice block. I had to watch a tutorial as I was creating the bodice block and copy what Ralph Pink was doing except using our measurments. I created my bodice block in Adobe Illustrator.
I found it quite easy when we were following each of his steps however half way through he stops talking and the tutorial begins to pick up pace, I think that this was the part that I struggled with most as I found it difficult to see what was being done which meant it took me a lot longer to complete.

I am very happy with my final outcome.

Thursday 23 May 2013

final trouser manufacture

1) Now that I had my complete all my patterning and toiling  I was then able to begin manufacturing my final garment. I started by placing all of my pattern pieces onto my black satin  again trying to use as little fabric as I could, except for my panel piece that I was having running down either leg as both of these were to be made of lace.

2) Once I had lay all of my pattern pieces into place and checked that their grain lines were all parallel to the selvedge I was then able to pin them all on and begin cutting them out.

3) I began by tracing my darts from my pattern onto the wrong side of my fabric using tailors chalk. When all of my darts were drawn onto my fabric I was then able to sew them up. I then pressed my darts flat.

4) After I had sewn my darts into place I was then able to begin manufacturing the rest of my trousers, I started off by pinning in my lace panels down the side of the trouser leg. I did this by placing the right side of my panel to the right side of my front and back pieces along either edge.

5) I then pinned them along the edge.

6) Once they were pinned in place I was then able to sew down both edges using a 1cm seam allowance I then did this again when attaching my other panel into my other front and back leg pieces.

7) I was then able to join my 2 front trouser pieces together by placing them right side to right side, I then pinned down the edge. I could then sew down using a 1cm seam allowance. I could then do this again to join my 2 back pieces together, however as I was having my zip in the centre back I started sewing about half the way down, I sewed down using a 1cm seam allowance.

8) Now that my 2 fronts and my 2 backs were together I was then able to sew together the crotch and my trouser legs together, I thought that this would be easier to do in one go so I placed the trouser legs and crotch right side to right side and pinned along my sewing line. Once I had pinned them all into place I was then able to sew straight across. Starting at the bottom of one trouser leg, straight up along the crotch and back down the other trouser leg.

9) after sewing my trousers up I then tried placing them onto the stand to see what they looked like however when I did this I realised that I had added a lot more excess onto my waist band than I needed this also made me start thinking that the design could be worn as a jumpsuit as it came quite high up, therefor I decided to leave them as a jump suit until fittings week to see what they would work best as when fitted to a model so I will add my zip and facing in during fittings week.

10) I then over locked all of the raw edges to give a neater and more professional finish, I then pressed it all flat.


Toile diary

I am now finished with patterning and manufacturing my third toile.
I started off by using the basic trouser block and a sample toile, I used the toile to model on the stand and then I altered it to the shape and size that I wanted.

1. I pinned down the side of the trousers to make them more fitted, I wanted my trousers to fit to the shape of the body and then be more straight cigarette legged.

2. I then traced around the basic trouser block ensuring that I traced off all of my markings.

3. I was then able to measure the amount I was taking the trousers in either side, this then allowed me to adapt my trouser block by taking the amount off either side of my pattern.

4. Once I had adapted the size of my trousers I then has to adapt the top of them as I wanted them to be high waisted, I did this by measuring on the pattern how far up I wanted the waist band of my trousers to be. As I didn't know how tall my model would be yet until the trousers were fitted I decided to add a little extra on so that I could always take them down if needed.

5. When the initial shape and size of my trousers was patterned for I was then able to start thinking about creating the lace panel that would run down the side of my trousers.

6.  I created my pattern for my panel on my trousers in the same way that I create the patterns for my facings. I had to measure how far across I wanted my panel to be, when I had a width that I was happy with I was then able to draw this along the edge of my trouser pattern piece.

7. I cut the panel off of my pattern piece because I didn't want to add it on as this would alter the shape and size of my trousers.


Manufacture of trouser toile

1) Now that I had my complete pattern pieces I was then able to begin manufacturing my toile. I started by placing all of my pattern pieces onto my calico again trying to use as little fabric as I could.

2) Once I had lay all of my pattern pieces into place and checked that their grain lines were all parallel to the selvedge I was then able to pin them all on and begin cutting them out.

3) I began by tracing my darts from my pattern onto the wrong side of my fabric. When all of my darts were drawn onto my fabric I was then able to sew them up. I then pressed my darts flat.

4) After I had sewn my darts into place I was then able to begin the manufacture of my toile, I started off by pinning in my panels down the side of the trouser leg. I did this by placing the right side of my panel to the right side of my front and back pieces along either edge.

5) I then pinned them along the edge.

6) Once they were pinned in place I was then able to sew down both edges using a 1cm seam allowance I then did this again when attaching my other panel into my other front and back leg pieces.

7) I was then able to join my 2 front trouser pieces together by placing them right side to right side, I then pinned down the edge. I could then sew down using a 1cm seam allowance. I could then do this again to join my 2 back pieces together, however as I was having my zip in the centre back I started sewing about half the way down, I sewed down using a 1cm seam allowance.

8) Now that my 2 fronts and my 2 backs were together I was then able to sew together the crotch and my trouser legs together, I thought that this would be easier to do in one go so I placed the trouser legs and crotch right side to right side and pinned along my sewing line. Once I had pinned them all into place I was then able to sew straight across. Starting at the bottom of one trouser leg, straight up along the crotch and back down the other trouser leg.

9) Now that my seams were together I was then able to take all of my pins out and then insert my zip into the centre back. I decided that I would use an invisible zip. I find zips very difficult to master therefor I did struggle with inserting my zip.


.


Wednesday 22 May 2013

Patterning and toiling- long black jacket.

I was able to begin patterning and toiling for my long black jacket.

1. I started off by using a basic fitted dress block, I traced around it ensuring that I traced off all of my markings.

2. Once I had my basic pattern for my jacket I was then able to extend it slightly as I wanted my jacket to be ankle length. I just measured down and extended my pattern by 20 cm, I made it longer than needed as it still needed to be fitted to my model and I knew that it would be easier to take it up than to add more on.

3. Once my pattern had been extended I then had to move my dart to under the arm to give more shape around the bust point. I did this by drawing in my new dart and then cutting down the old dart and closing it up which then allowed my new dart to open up.

4. When I had moved my darts and extended my pattern, I then added a 1cm seam allowance around the edge, I was then able to cut out my new pattern.

5. I was then able to get a basic sleeve block, I traced around it and this is when I realised that it was slightly too wide as I wanted tight fitted sleeves on my jacket.

6. I adapted my sleeve pattern by using the slash and spread method, I cut up my sleeve pattern I then rather than spread it to make it wider I had to take it in. Once I had taken it in to the size that I wanted and thought would look best with my jacket I then had to tape it down and then I was able to get another piece of pattern paper and trace off my new shaped sleeve ensuring that I traced through my notches, I then had to add a 1cm seam allowance around the edge.

Manufacture

1. Once I had my pattern pieces all finished I was then able to start to cut them out of my calico ready for manufacturing my toile. I placed all of my pattern pieces onto my fabric which I had folded in half, making sure that my back piece was being cut on the fold and that all of my grain lines were parallel to the selvedge.

2. When my pieces were all in position I was then able to pin them down and cut around them.

3. Now that I had all of my pieces cut from my calico I was then able to begin my manufacture of my toile, I started off by sewing in my darts, as this was my practice toile I decided that I would draw my darts in pen so that I could see them more easily and this would give me better practice for sewing in my darts on my final fabric. When my darts were all drawn in I was then able to sew them in.

4. When my darts were sewn in place I was then able to attach my front pieces onto my pack pieces, I did this by pinning them on. I placed them right side to right side and then pinned along the edge I then repeated this for the other front pattern piece. Once they were pinned in place I then sewed down the edge using a 1cm seam allowance and repeated this on both sides.

5. When my 2 front pieces were attached I was then able to sew up both of my shoulders by placing them right side to right side and then pinning along then edge I then sewed across again using my 1cm seam allowance, I then did the same with the other shoulder.

6. After I had sewn together the shoulders of my jacket together I then had to put the sleeves in. This was the part that I found most difficult as I struggled to ease the sleeve into fit. I had to pin the sleeve along the armhole easing it into place matching up the notches, once my sleeve was in I then had to sew around the edge using a 1cm seam allowance, I then had to repeat this for the other side.

7. After I had sewn my sleeves in I realised that there was a slight gather as I didn't ease the sleeves in to fit properly, I also think that I maybe didn't adapt my initial sleeve pattern enough to make it fit better.

8. I didn't add any finishing's to my toile as it was just a practice for my final garment.


Manufacturing my final garment- Long black jacket.

After I had completed my toile I was then able to begin the manufacture for my final garment. I had selected my 2 final fabrics that I was using.

I started off by creating a lay plan for my long black jacket, this was to help me when placing my fabrics onto my material as this would teach me the best possible way to waste as little fabric as I could which would then help me save money. I would then create a costing sheet to show how much it cost altogether to create my garment.

I created my lay plan by measuring the width of my fabric, I then had to get some pattern paper and lay my pattern pieces onto it, I had to make them fit together by wasting as little fabric as possible, this then allowed me to create a plan. Once I had found the best way to place my pattern pieces onto my paper to waste the least fabric as possible, this meant me playing around with where I could place my patterns, the least amount of fabric that I used when cutting my pattern out was 3m 20cm.

Before I could begin cutting out of my final fabric I decided to alter my design slightly by adding a stand onto it so that I could give my jacket a fastening. I liked the idea of using a broach to fasten the middle of my jacket together. I did this by changing my pattern slightly, I thought about how far out I wanted the fastening stand to come out, I was then able to draw this onto some pattern paper and attach it onto my front pattern piece.

1) Once my lay plan was created and I had altered my pattern I could then pin all of my pattern pieces down onto my fabric in the same order as I had done them on my lay plan, after checking to ensure that they were all correct and that all of my pieces were placed onto the straight grain of my fabric again checking using my grain line. I was then able to pin all of my pattern pieces down and begin cutting them out of my fabric.

2) The entire long black jacket was to be cut out of my shiny black satin fabric which meant that I didn't need to figure out another lay plan for any other fabric for this particular garment. After I had all of my cut out pattern pieces from my final fabric I was then able to begin to piece them all together.

3) Now that I had all of my pieces cut from my final fabric I began by tracing through my darts using tailors chalk onto the wrong side of my fabric, I traced through all of my darts and then I began to sew them together ensuring that my stitch was on the wrong side of my fabric.

4) Once all of my darts were in place I then had to attach my 2 front pieces onto my back side of my jacket, I did this by placing the right side of my front piece to the right side of my back piece, I was then able to pin across the edge and then sew down using a 1cm seam allowance. I did the same to attach my other front piece to the back.

5) After my 2 front pieces were attached to my back piece, I was then able to attach the shoulder seams together, I did this by placing the right side of the front shoulder to the right side of the back shoulder, I then pinned them together and sewed across using a 1cm seam allowance.

6) After attaching my shoulders together I then had to insert my sleeves into the arm holes of my jacket. I started off by sewing my sleeves up by placing the right sides of my sleeves together and sewing across 1cm, I did this for both sleeves.

7) Now that my sleeves were sewn up I was then able to start fitting them, I started off by pinning the middle of the sleeve to the shoulder seem I then pinned the seam of the sleeve to the bottom of the side seam I then had to meet up the notches. I then had to start easing the rest of the sleeve into the arm hole. Once I eased it to fit I was then able to sew all the way around the edge with a 1cm seam allowance. I then repeated this again for the other side.

8) I then had to neaten all of my seams using an over lock stitch.

9) Once all of my seams were neatened and over locked I then had to create a facing to go along the front and around the neck of my jacket. I did this by drawing a facing onto my pattern using a 5cm depth. I drew it the same shape as my pattern, I was then able to trace off my pattern for my facing. I then had to do the same on the neck of my back pattern piece.

10) After I created my pattern pieces for my facing I then had to place them onto my fabric and pin them in place I was then able to cut them out. With my facings that I had now cut from my fabric I had to begin attaching them together, I did this by taking my 2 front facing pieces, I then had to place the right side of the front to the edge of the right side of the back piece. I was then able to sew across 1cm I did this for both sides of my facing.

11) After joining my facing together I then had to fit it to my jacket. I did this by placing the right side of my facing along the edge of the right side of my jacket. I then pinned it all in place and when I could see that it fitted right I was then able to sew it together. I did this by sewing around the neck using a 1cm seam allowance and then sewing down my front pieces again using a 1cm seam allowance. I then had to snip a small piece of the corner away where I had joined my facing to my front jacket piece this was so that I could turn it all the right way and bag it out without any bulk and this way it would sit flat and look more professional.

12. When my facing was then attached to my jacket I was then able to over lock and raw edges or seams and then press it flat.


Manufacture- Final cropped jacket with lace panel.

Once I had toiled my cropped jacket I was then able to cut out of my final fabric and begin the manufacture process.

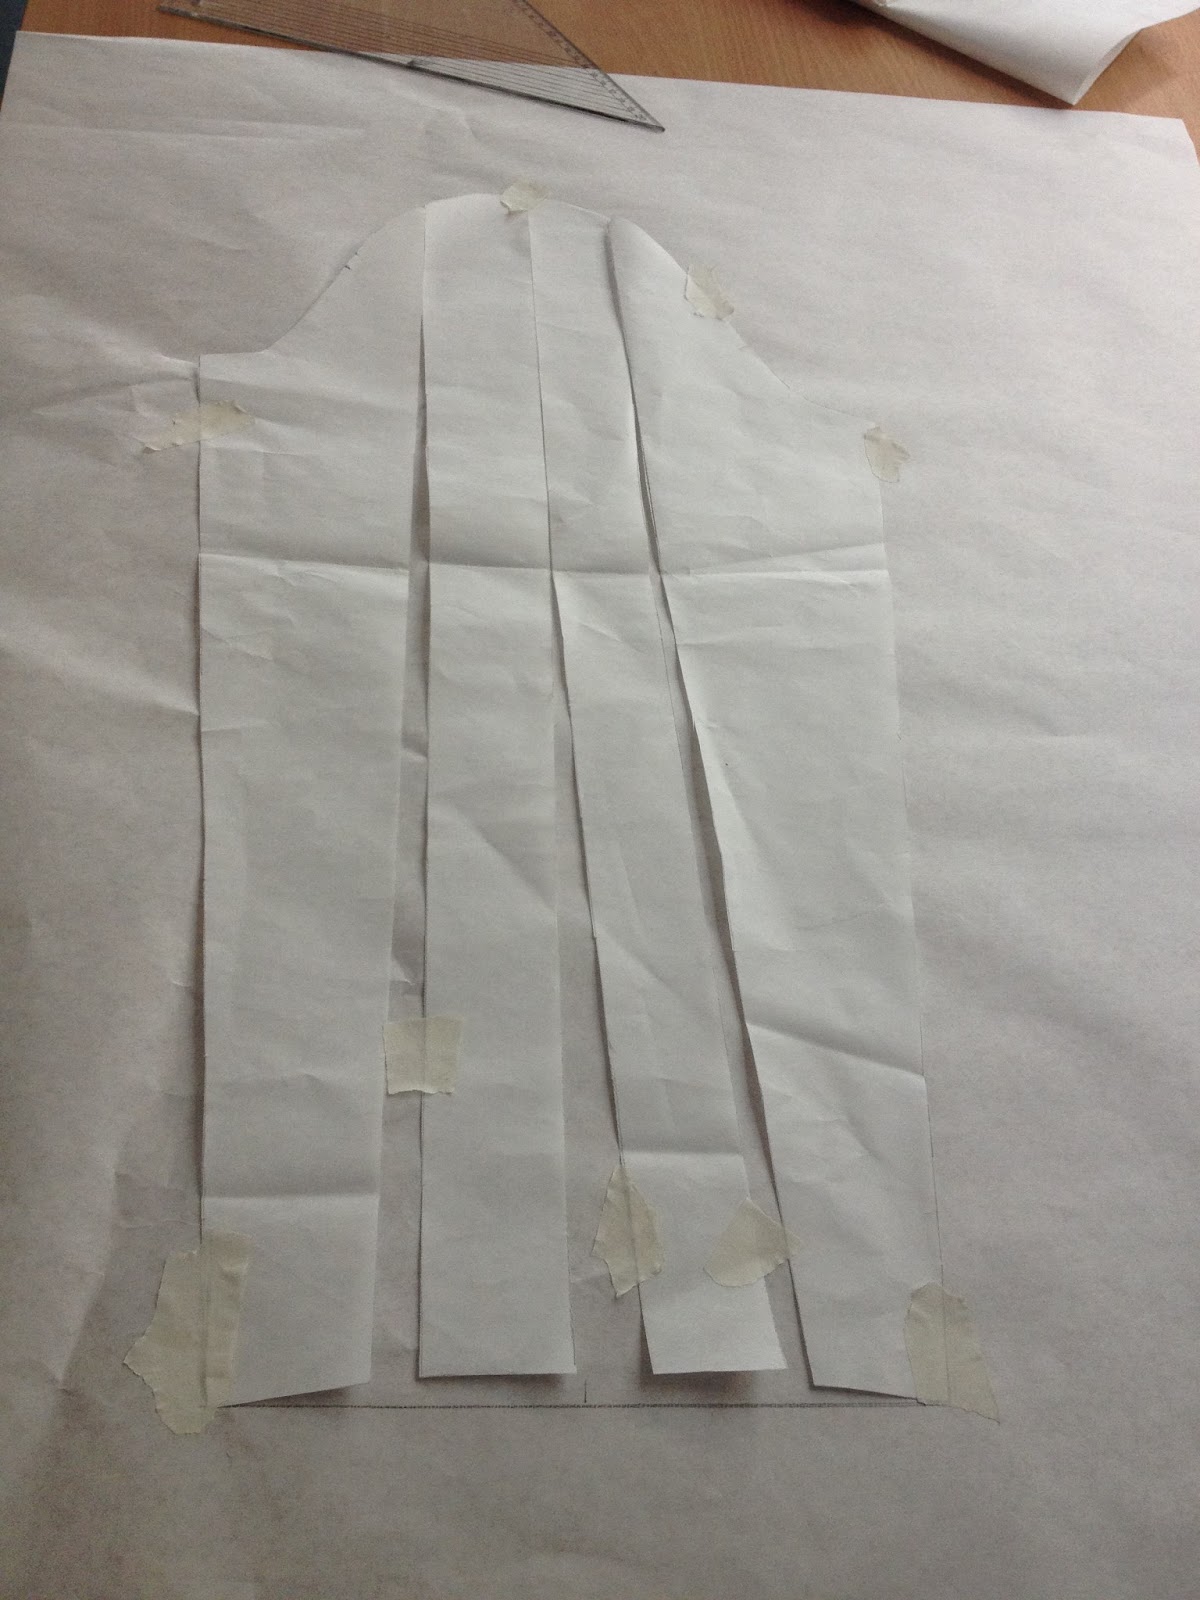
1) I started off by getting all of my final pattern pieces and placing them onto my fabric, making sure that anything that needed to be cut on the fold such as my back pattern piece was placed on the fold the correct way. With all of my patterns I had to make sure that my grain line was parallel to the selvedge so that my fabric would sit straight on the body.

2) Once I had ensured that all of my patterns were laid out correctly I was then able to pin all of my pattern pieces down and begin cutting them from my fabric. I also had to cut my panel out of my second fabric as I was inserting a lace panel into the back of my jacket so I laid this pattern piece onto my lace making sure that it was being cut x1 on the fold.

3) Now that I had all of my pattern pieces that I needed I was then able to begin manufacturing my garment. I started off by tracing my darts from my pattern onto my fabric using tailors chalk on the wrong side of my fabric. I was then able to begin sewing in all of my darts on my front and back pieces.

4) I then ironed all of my darts flat.

5) When all of my darts were in place I was then able to sew my 2 front pieces onto my back piece, I did this by placing them right side to right side and then pinning along the edge. I was then able to sew down using a 1cm seam allowance, I then repeated this again on the other side.

6) when I had my 2 front pieces attached to the back piece, I was then able to sew up my shoulders, I did this again by placing my fabric right side to right side I was then able to pin along the shoulders and then sew across using a 1cm seam allowance repeated this method for both shoulders.

7) I then had to start to think about placing my lace panel in, I started off by taking my waist panel piece and my lace panel piece, I had to place the right side of my lace panel to the right side of my waist panel I then pinned along the edge and then sewed across using a 1cm seam allowance.

8) After my waist and lace panel pieces were attached together I then had to insert them into the back of my jacket, however this then meant that I had to sew at a right angle so I did 2 practice samples before beginning to sew my final fabrics. I started off using a small scrap of calico and I just practiced by sewing one corner once I had done this I was then able to do a full sample.

9) After I felt a little more confident sewing at a right angle I was then able to begin in my final fabrics I did this by placing the right side of my jacket on top of the right side of my lace panel I then had to pin it along the edge, I then started sewing using a 1cm seam allowance. Once I had reached the corner I then had to turn my panel to fit it along the vertical edge. I did this by keeping the needle of my machine in my fabric at the point that I stopped sewing, I then had to cut into the corner of my back fabric piece, I was then able to twist my fabric and then sew along the edge again using a 1cm seam allowance. I repeated this method on each of the 4 edges ensuring that I snipped into the corners so that it allowed me to keep twisting my fabric around.


5. Now that my back panel piece was sewn in I then had to sew the edge of my waist panel to the edge of my front pieces by placing them right side to right side, I then sewed across 1cm doing the same again on the other side.

6) After I had constructed the main bodice of my cropped jacket I then had to put my sleeves into the arm holes of my jacket. I did this by taking my sleeve pieces and I placed them right side to right side and then pinned along the edge and then sewed down 1cm. I did this for both of my sleeve pieces.

7) I then turned my sleeve inside out, I then had to pin the right side of my sleeve to the right side of the arm hole I then lined my top seam, bottom seam and notches and then I had to ease the rest of my sleeve in to fit pinning along the edge. The sleeve head was slightly to big for the arm hole therefor it did leave a small gather at the top. I did the same for inserting both of my sleeves.

8) I then had to over lock all of my seams inside of my jacket to give a neater finish.

9) After I finished manufacturing my jacket I then had to think of how to finish off the edges, I decided that a facing would be best. I created my facing by using my pattern pieces I then drew a facing along the edge 5cm in depth down the front edge of my pattern piece and across the neck. I then did the same to create a facing for the back neck piece. Once I had created a facing pattern I was then able to trace them off and cut them out of fabric. I just used the same fabric that I had used on the rest of my jacket to create my facing.

10) I cut out my facing pieces from my fabric I then placed the right side of the front piece to the back neck piece I then sewed across using a 1cm seam allowance, I did this again for the other side.

11) Once I had put all of my facing together I then had to sew them into my jacket I did this by placing the right side of my facing to the right side of my fabric I firstly pinned my neck of the jacket and the neck of the facing together to check that it fitted. It was slightly out as my seams didn't quite meet up, however this wasn't to much of a problem as the facing would be on the inside of the jacket.

12) once I had sewn the neck of my facing to the neck of my jacket I could then place the right side of my front facing to the right side of my front jacket pieces, I then pinned along the edge and sewed down 1cm I did the same on both sides of my jacket. When I had sewn my facing into place I then had to turn it all the right way, I had to snip the corners of where my jacket went into a point, this was so that I could bag it out without any excess bulk in order for it all to sit flat.

13) After my facing was attached to my jacket I then had to overlock all along the raw edges, I was then able to press all of my seams flat and press my facing flat inside my jacket so that it lay flat on the body. The next thing that I had to do after pressing all of my seams flat I then had to tack the neck facing to the seam allowance of my lace so that it held it down. I did this by doing a quick hand tacked running stitch across the facing and edge of the lace just to hold it neatly inside the jacket.

14) After all of my facing was fitted inside my jacket was then complete, I decided to leave my hem until my garment is fitted to a model to save my time of unpicking the garment if the length was not right.