1. I started off by using a basic fitted dress block, I traced around it ensuring that I traced off all of my markings.
2. Once I had my basic pattern for my jacket I was then able to extend it slightly as I wanted my jacket to be ankle length. I just measured down and extended my pattern by 20 cm, I made it longer than needed as it still needed to be fitted to my model and I knew that it would be easier to take it up than to add more on.
3. Once my pattern had been extended I then had to move my dart to under the arm to give more shape around the bust point. I did this by drawing in my new dart and then cutting down the old dart and closing it up which then allowed my new dart to open up.
4. When I had moved my darts and extended my pattern, I then added a 1cm seam allowance around the edge, I was then able to cut out my new pattern.
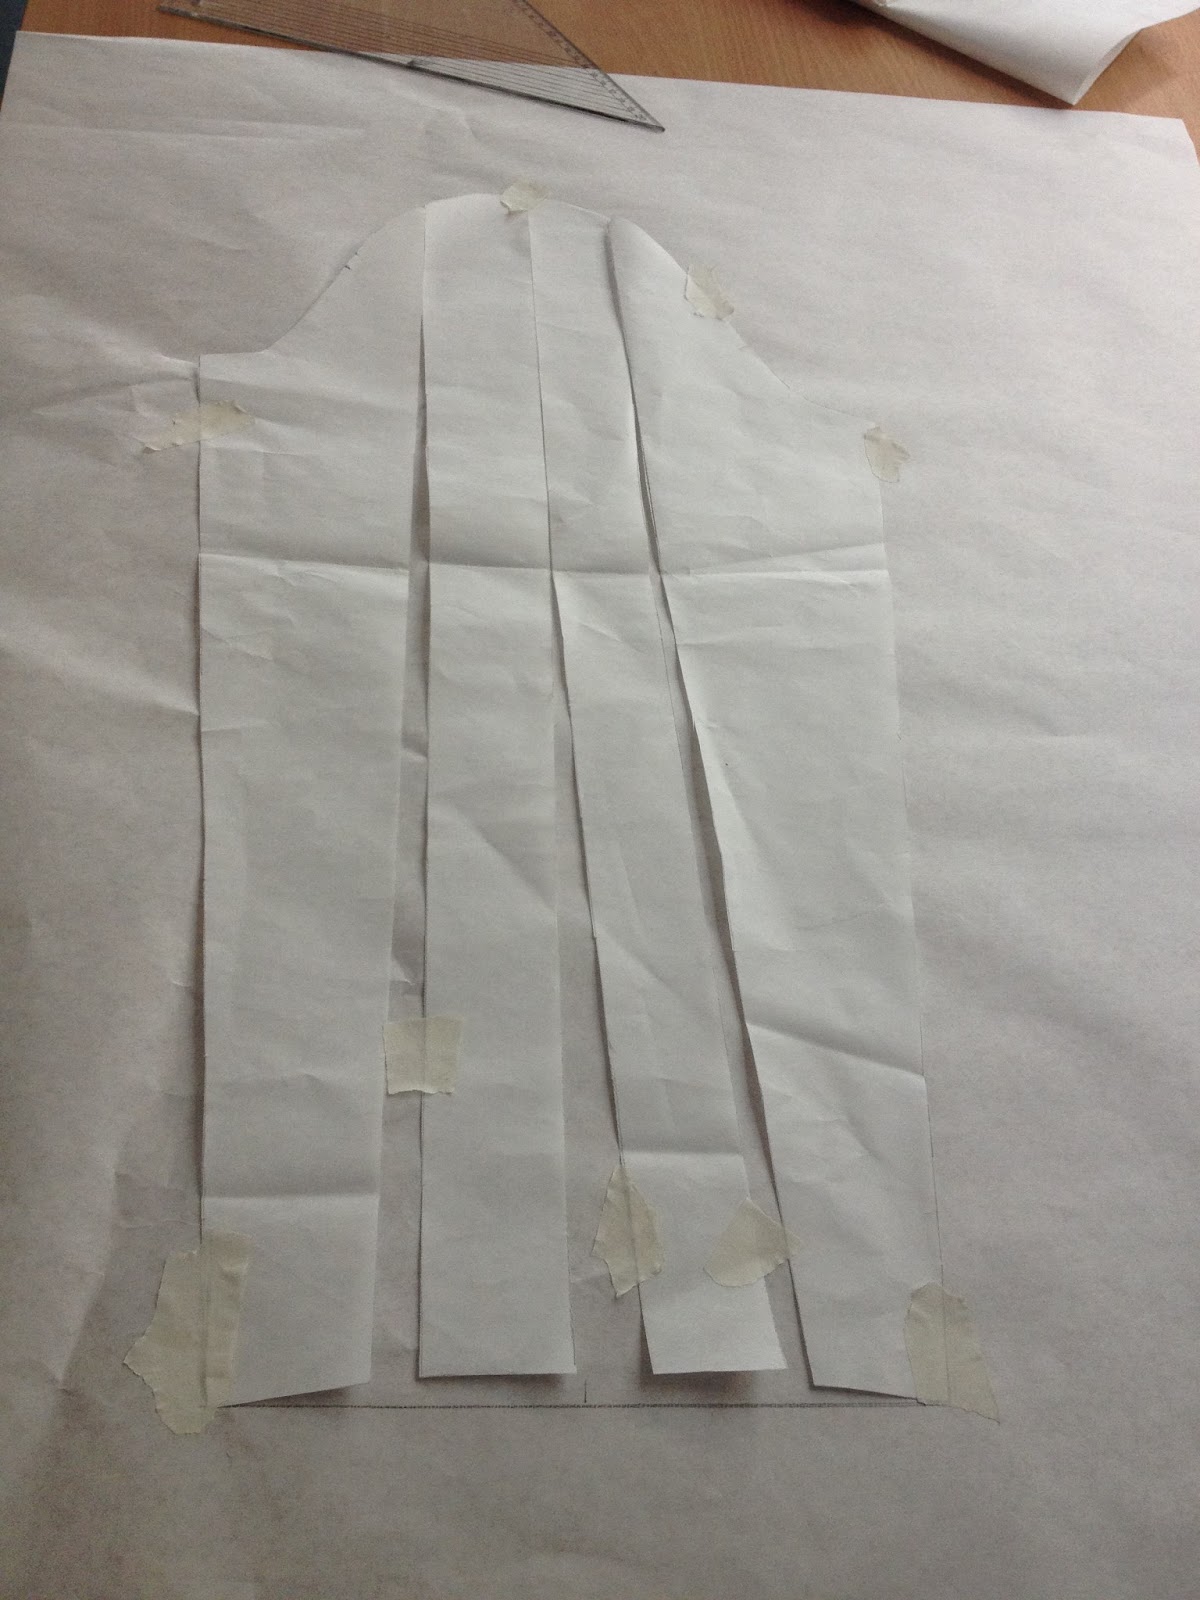
5. I was then able to get a basic sleeve block, I traced around it and this is when I realised that it was slightly too wide as I wanted tight fitted sleeves on my jacket.
6. I adapted my sleeve pattern by using the slash and spread method, I cut up my sleeve pattern I then rather than spread it to make it wider I had to take it in. Once I had taken it in to the size that I wanted and thought would look best with my jacket I then had to tape it down and then I was able to get another piece of pattern paper and trace off my new shaped sleeve ensuring that I traced through my notches, I then had to add a 1cm seam allowance around the edge.
Manufacture
1. Once I had my pattern pieces all finished I was then able to start to cut them out of my calico ready for manufacturing my toile. I placed all of my pattern pieces onto my fabric which I had folded in half, making sure that my back piece was being cut on the fold and that all of my grain lines were parallel to the selvedge.
2. When my pieces were all in position I was then able to pin them down and cut around them.
3. Now that I had all of my pieces cut from my calico I was then able to begin my manufacture of my toile, I started off by sewing in my darts, as this was my practice toile I decided that I would draw my darts in pen so that I could see them more easily and this would give me better practice for sewing in my darts on my final fabric. When my darts were all drawn in I was then able to sew them in.
4. When my darts were sewn in place I was then able to attach my front pieces onto my pack pieces, I did this by pinning them on. I placed them right side to right side and then pinned along the edge I then repeated this for the other front pattern piece. Once they were pinned in place I then sewed down the edge using a 1cm seam allowance and repeated this on both sides.
5. When my 2 front pieces were attached I was then able to sew up both of my shoulders by placing them right side to right side and then pinning along then edge I then sewed across again using my 1cm seam allowance, I then did the same with the other shoulder.
6. After I had sewn together the shoulders of my jacket together I then had to put the sleeves in. This was the part that I found most difficult as I struggled to ease the sleeve into fit. I had to pin the sleeve along the armhole easing it into place matching up the notches, once my sleeve was in I then had to sew around the edge using a 1cm seam allowance, I then had to repeat this for the other side.
7. After I had sewn my sleeves in I realised that there was a slight gather as I didn't ease the sleeves in to fit properly, I also think that I maybe didn't adapt my initial sleeve pattern enough to make it fit better.
8. I didn't add any finishing's to my toile as it was just a practice for my final garment.


No comments:
Post a Comment
Thank you for viewing my blog, i will be sure to get back to you a.s.a.p x